Automate Your
Creative Workflow
A practical walkthrough of AI tools for photo editing and video production — cut hours of work down to seconds.
Automate Photo Editing
with AI
Step-by-step walkthroughs for background removal, enhancement, object removal, and image expansion. Click any screenshot to view fullscreen.
Background Removal
Use Remove.bg, Canva AI or Adobe Firefly to strip backgrounds instantly. Upload your image, the AI detects the subject edges, and you download a clean transparent PNG — no manual masking needed.
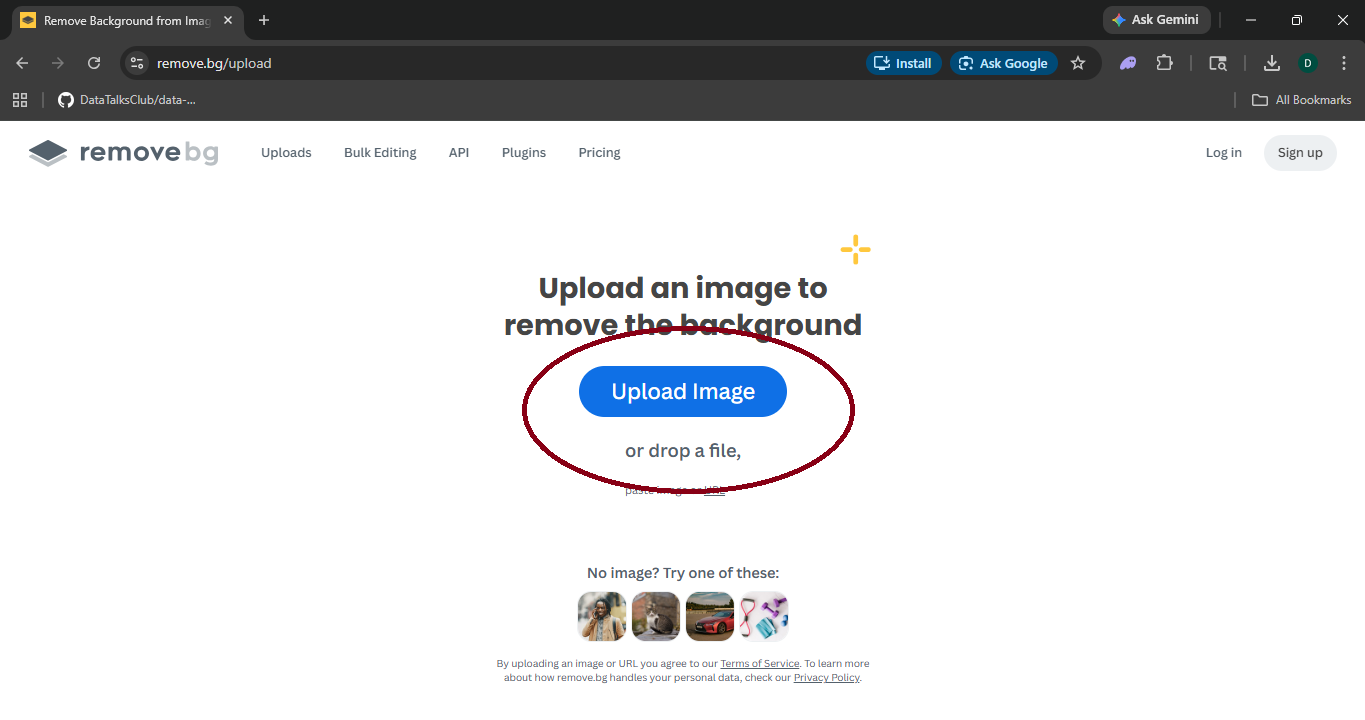
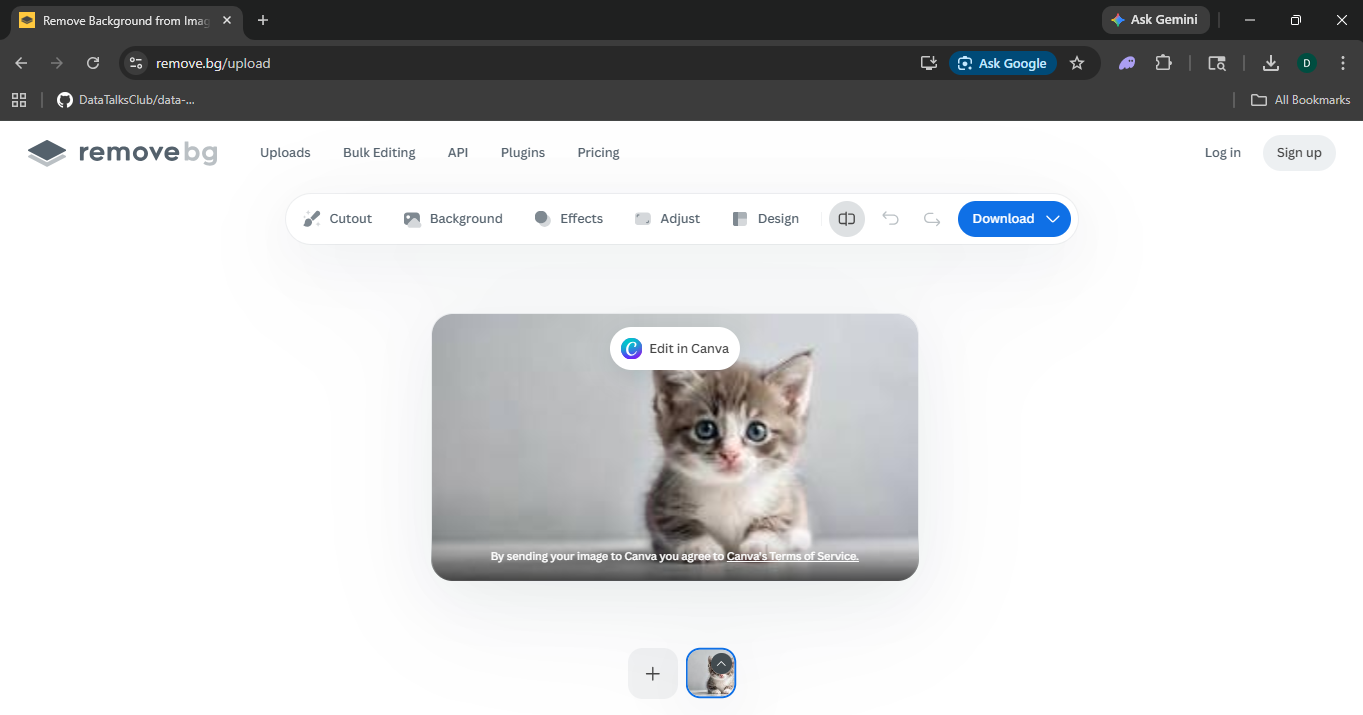
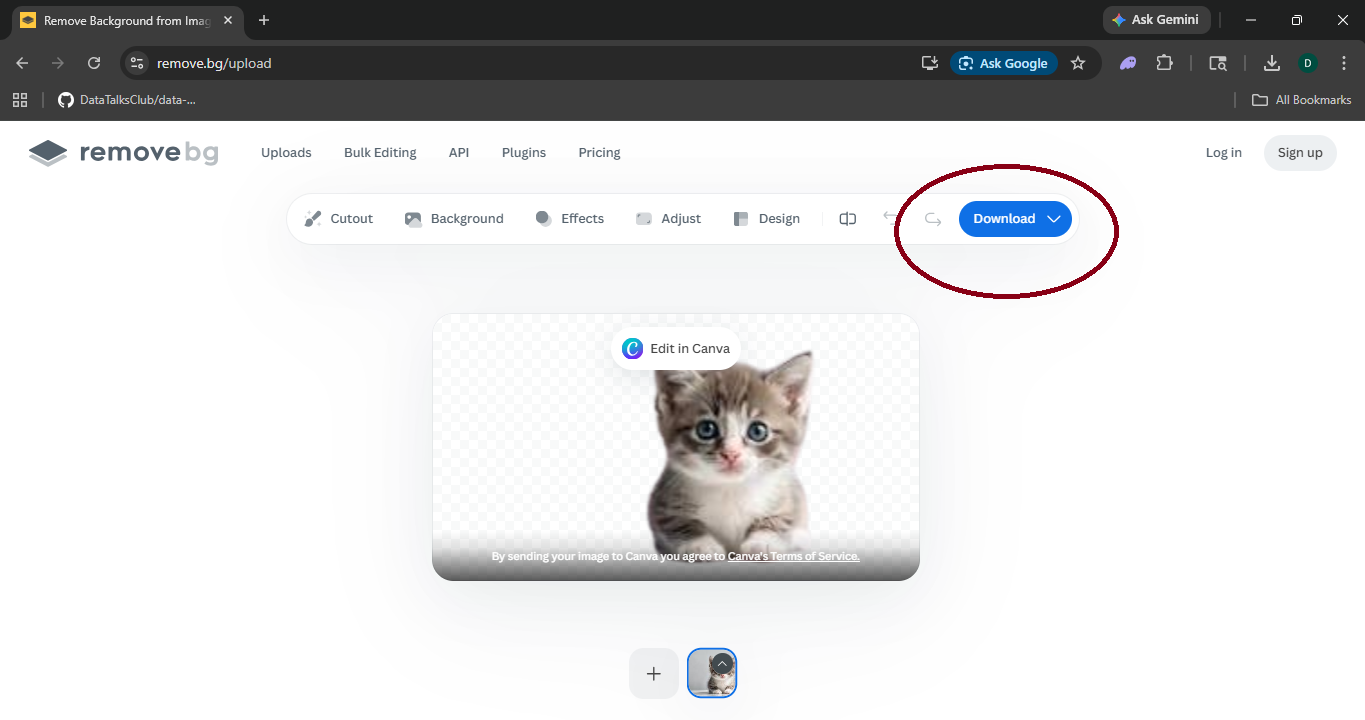
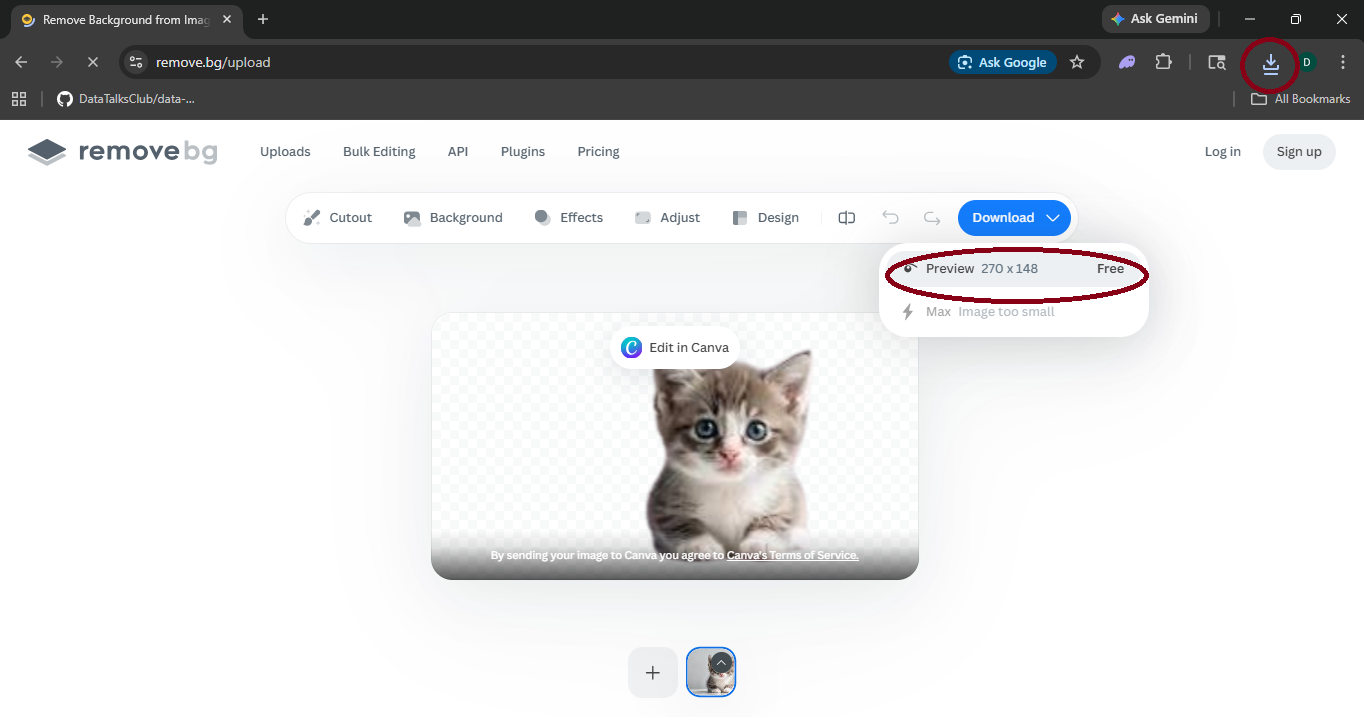
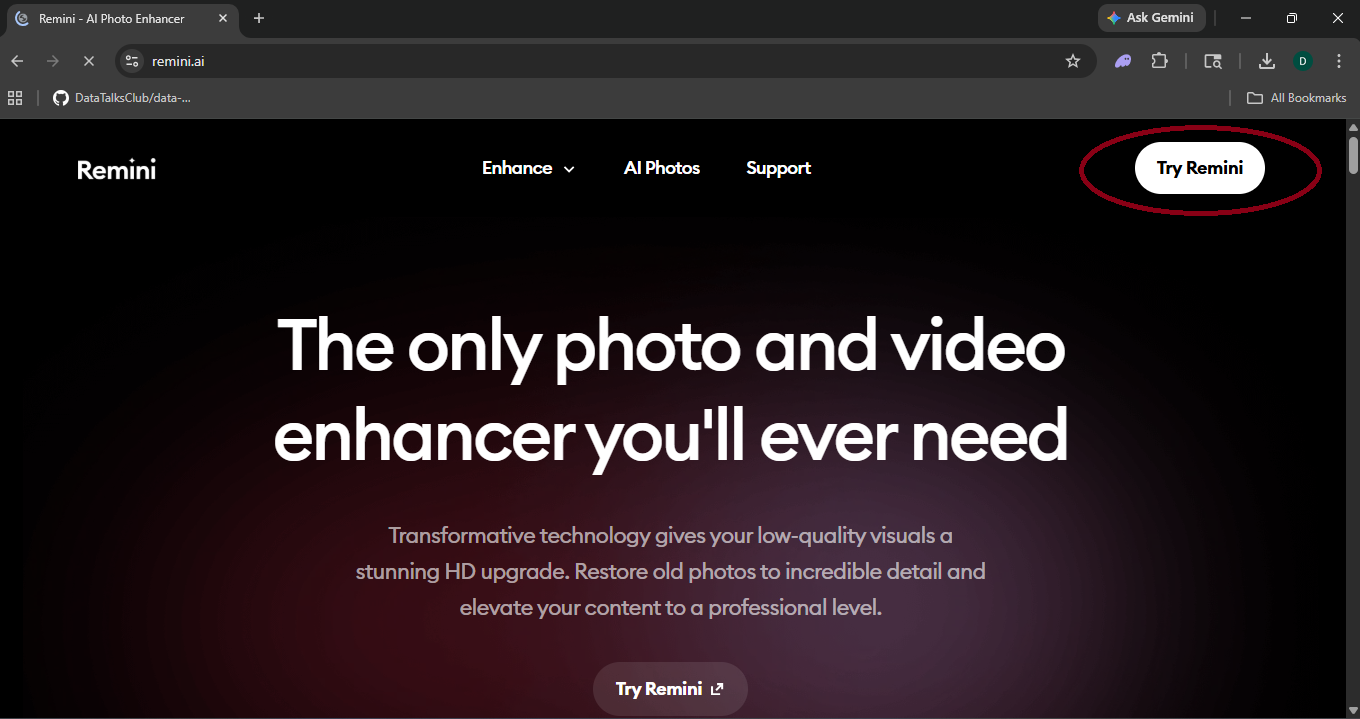
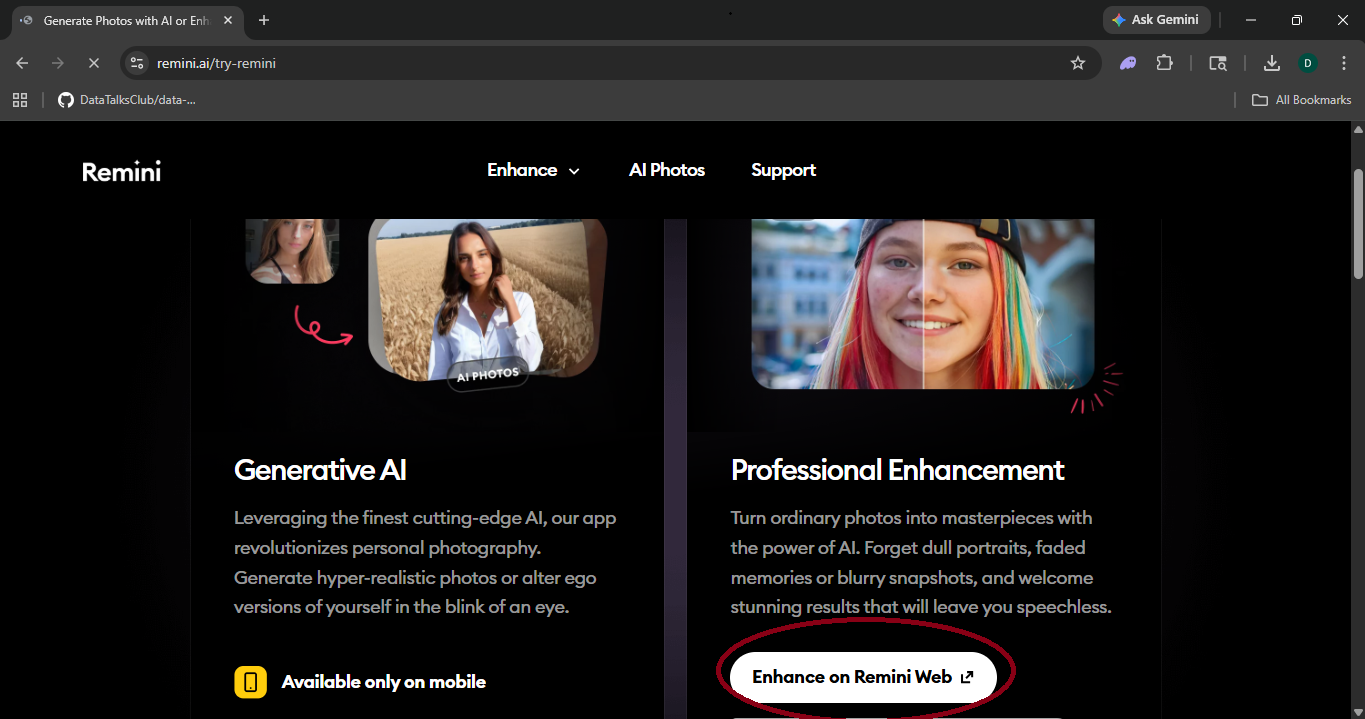
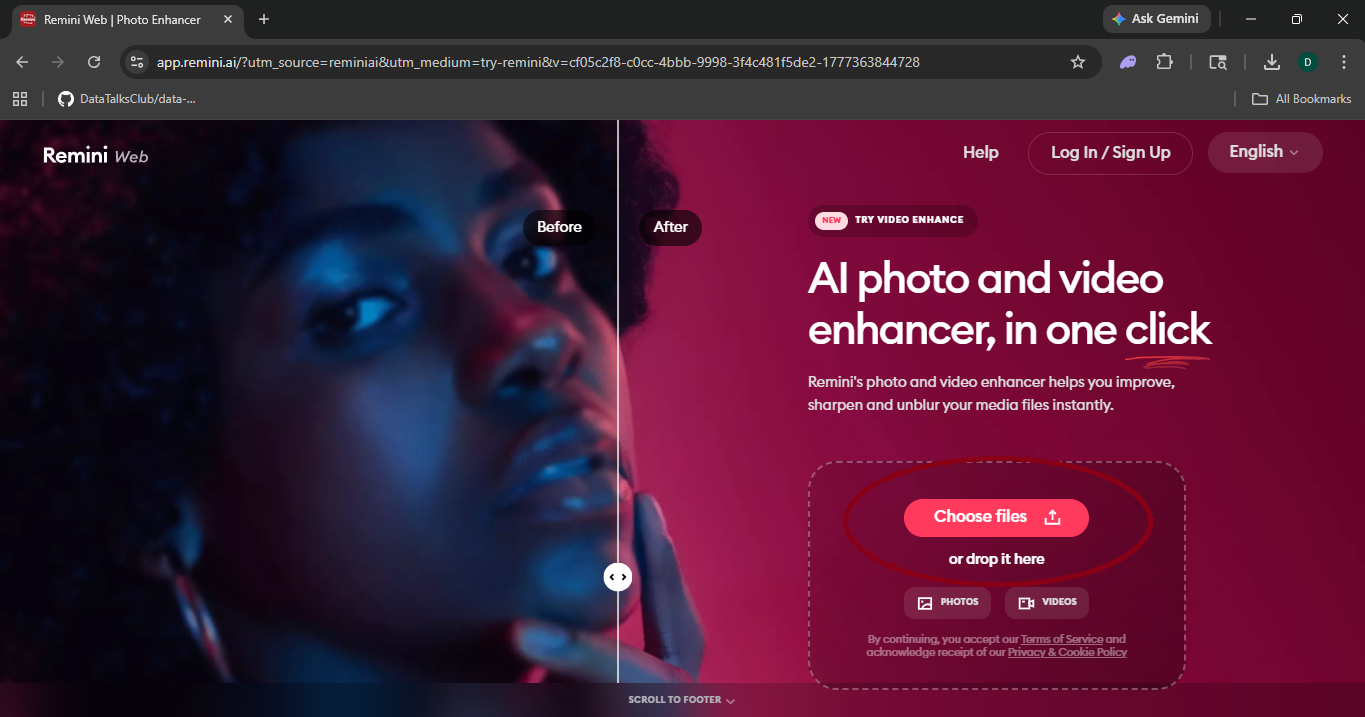
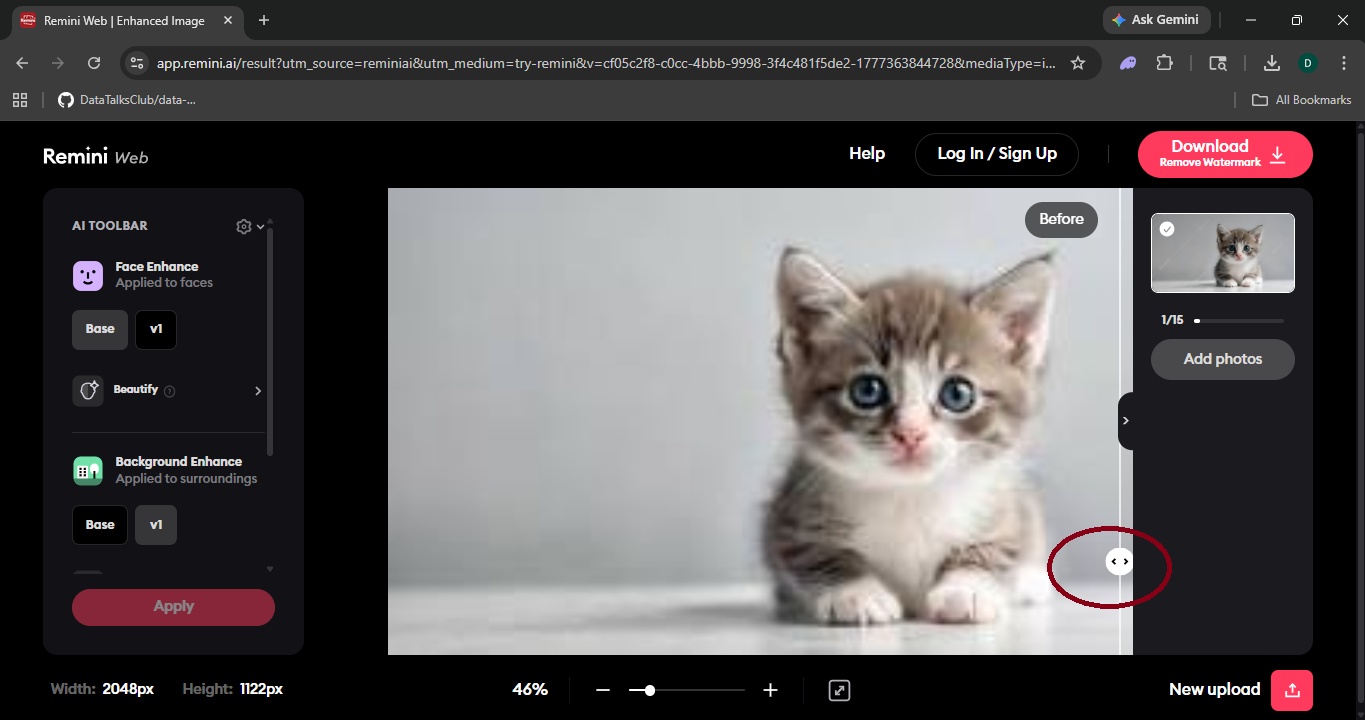
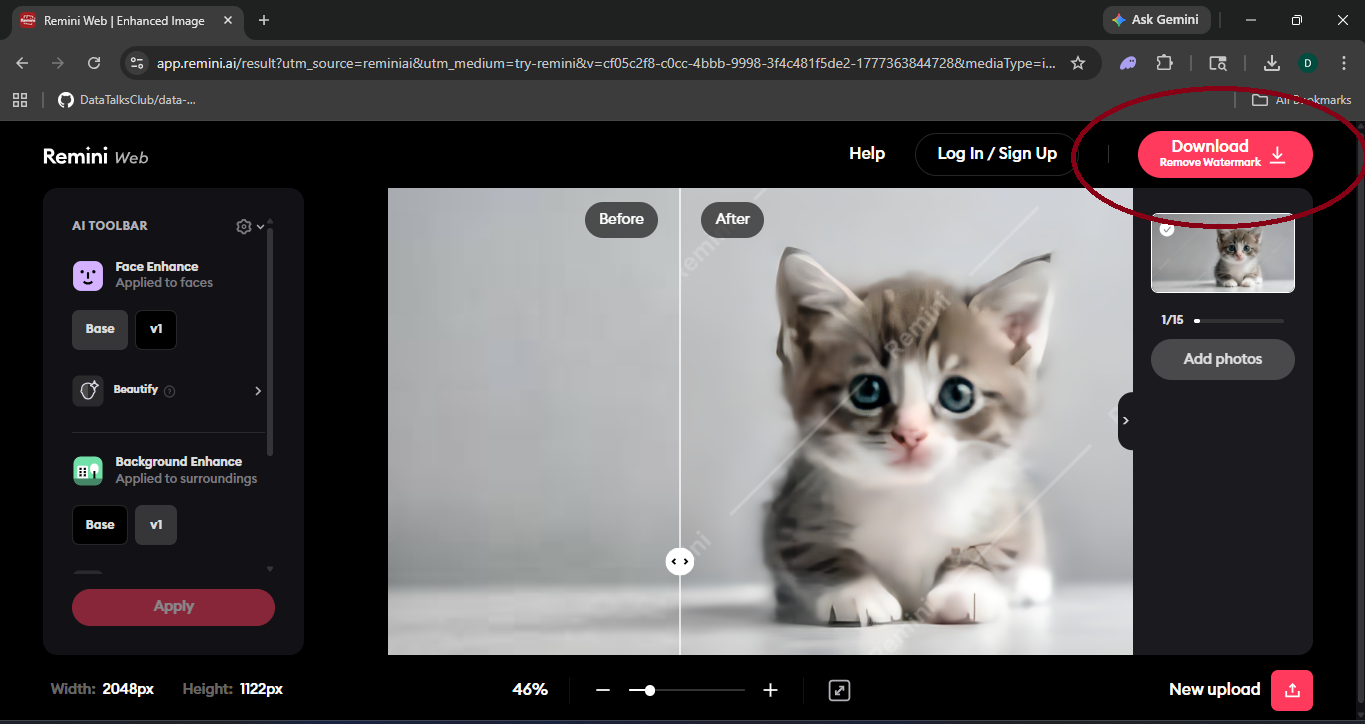
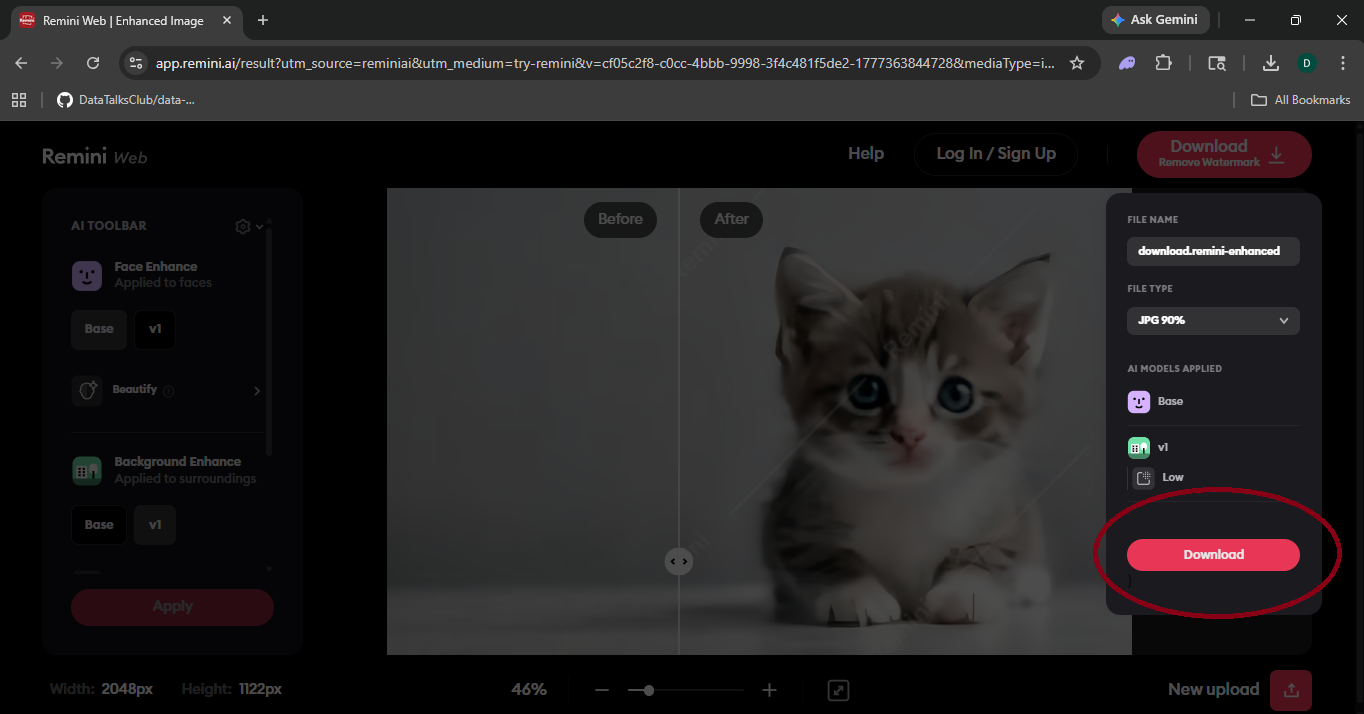
Image Enhancement
Remini, Luminar Neo or Lightroom AI automatically fix exposure, sharpen details, reduce noise, and boost colors. Define a preset once, then batch-process entire folders in one click.
Object Removal
Use Cleanup.pictures, Clipdrop or Photoroom to erase unwanted objects. Brush over the area, hit remove — AI reconstructs the background using surrounding context.
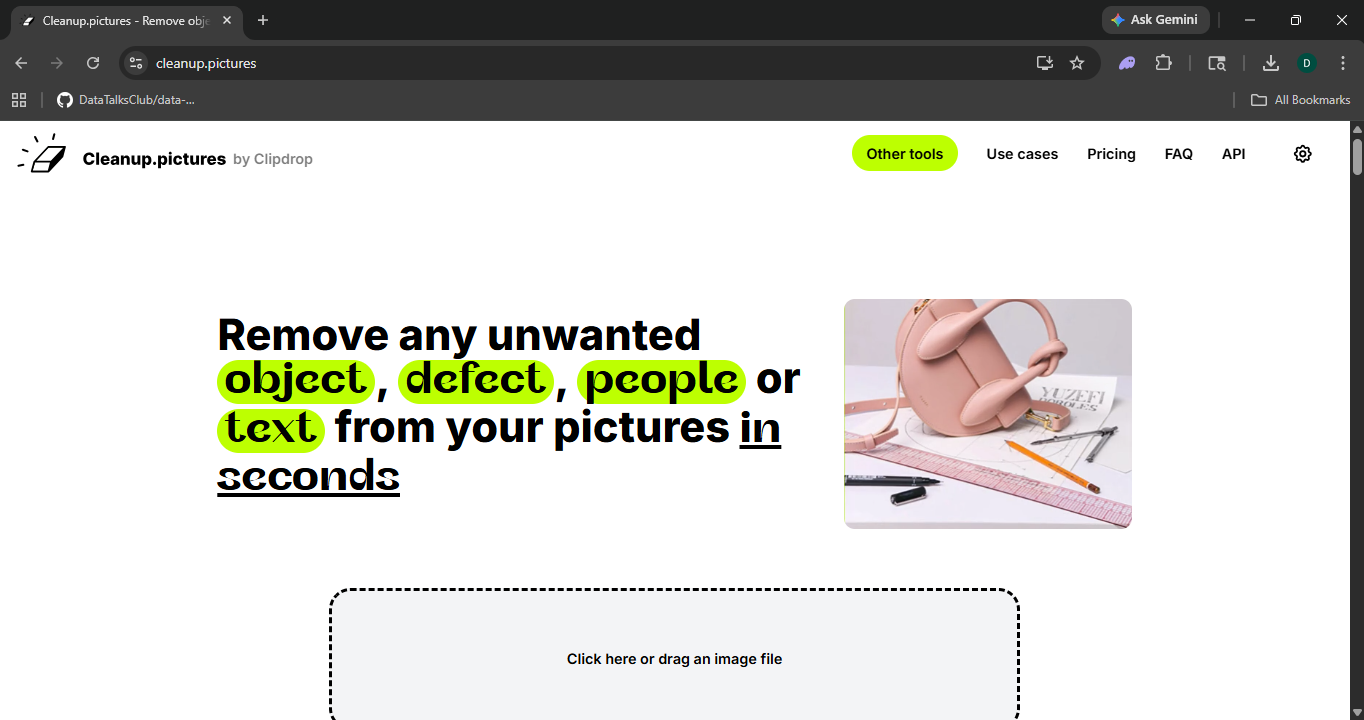
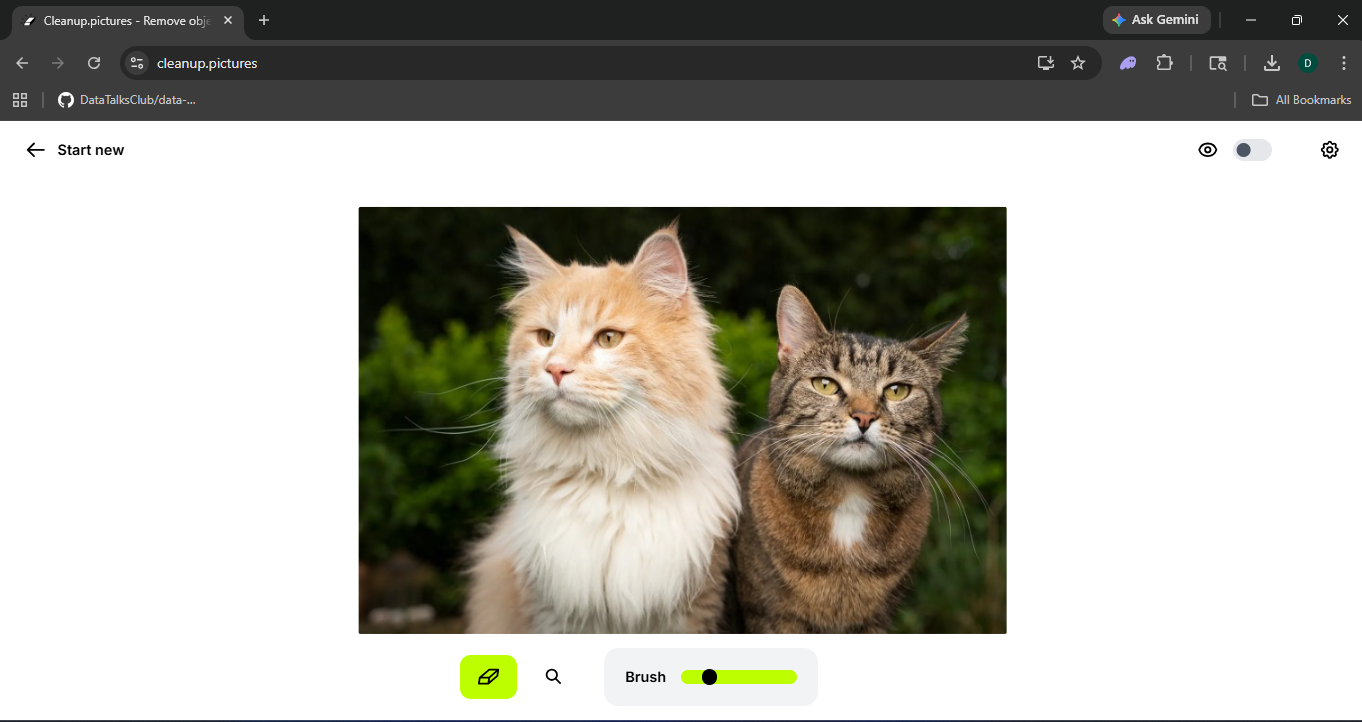
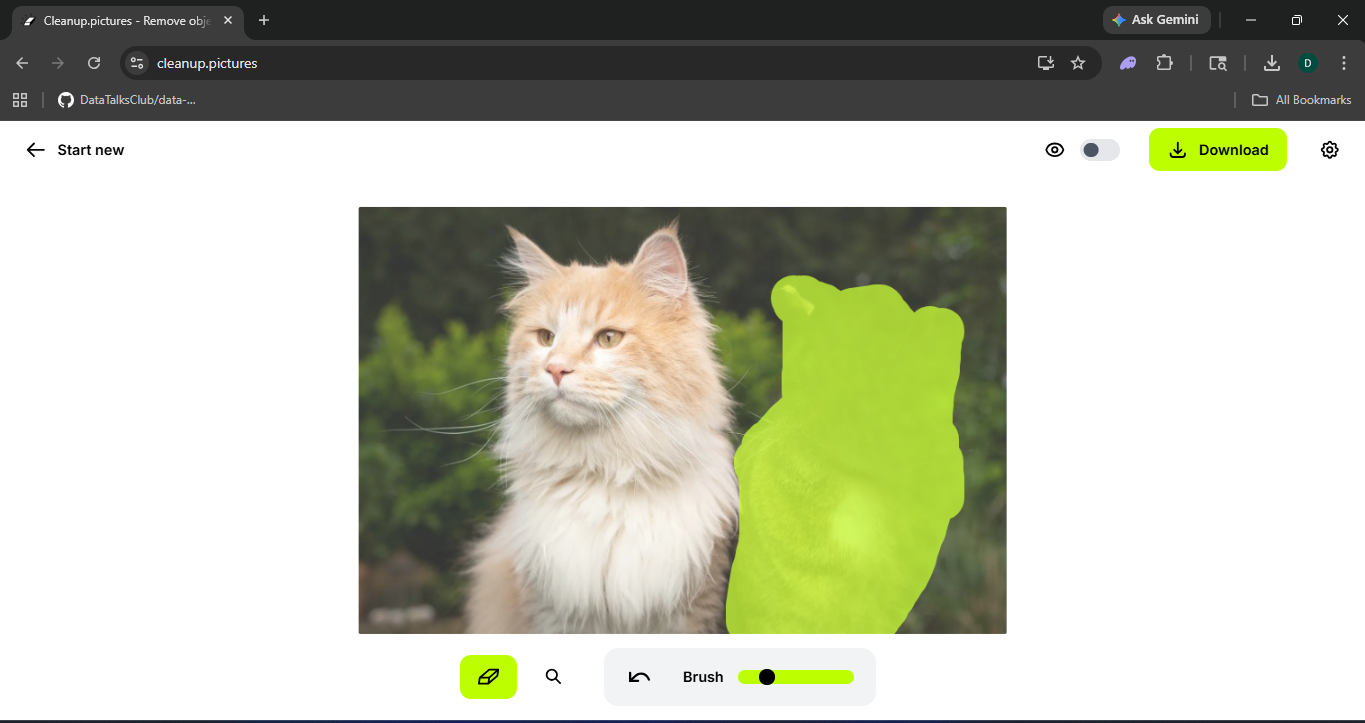
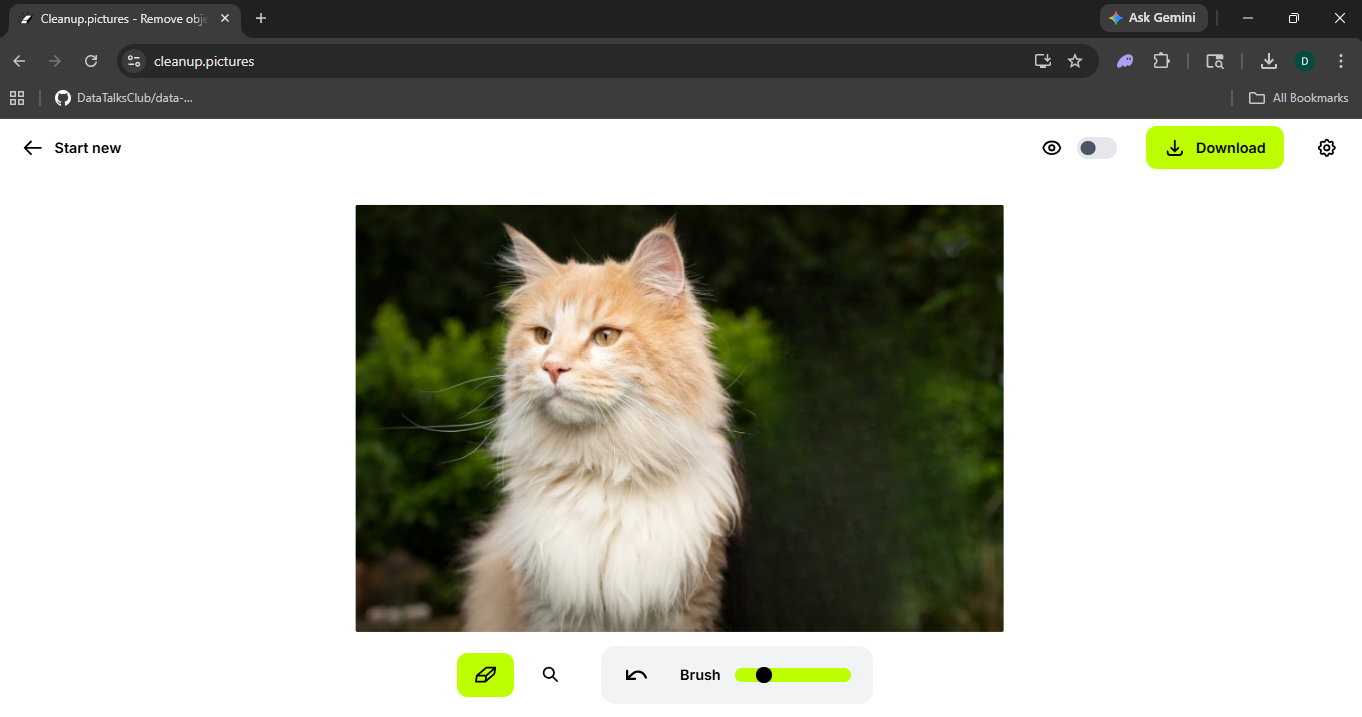
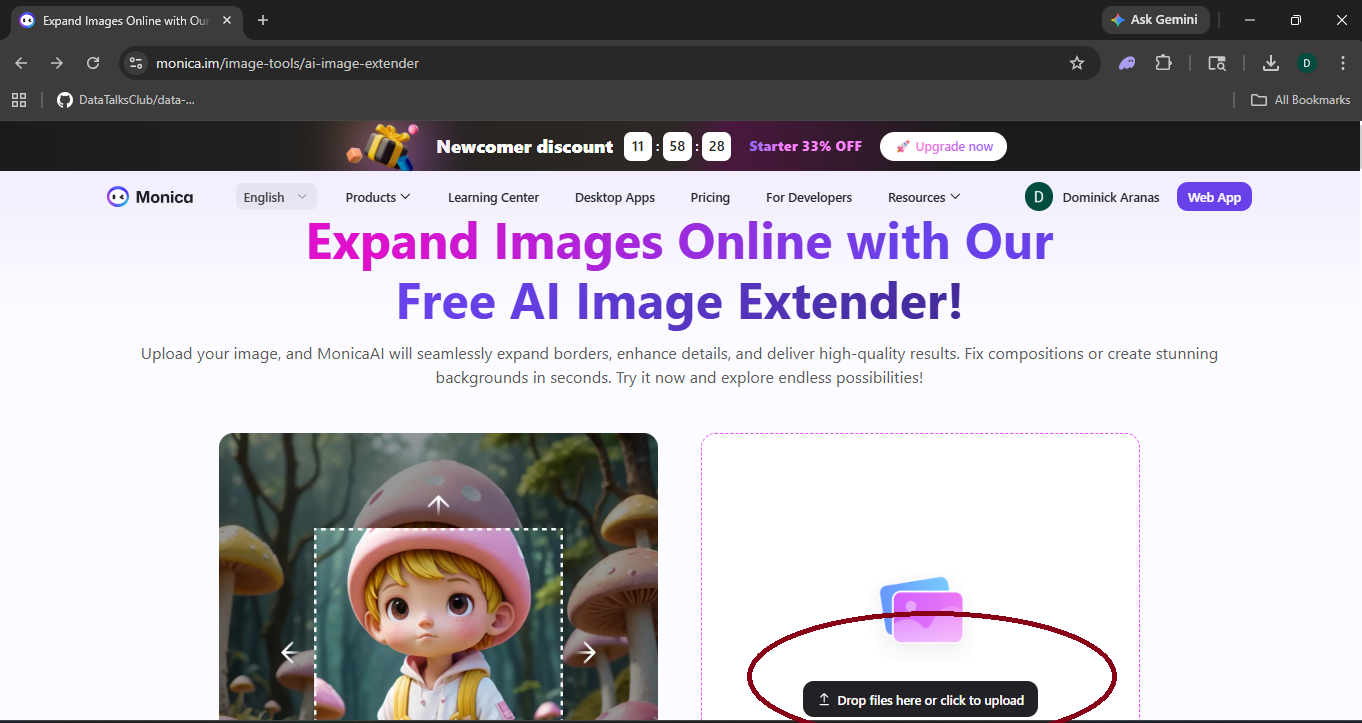
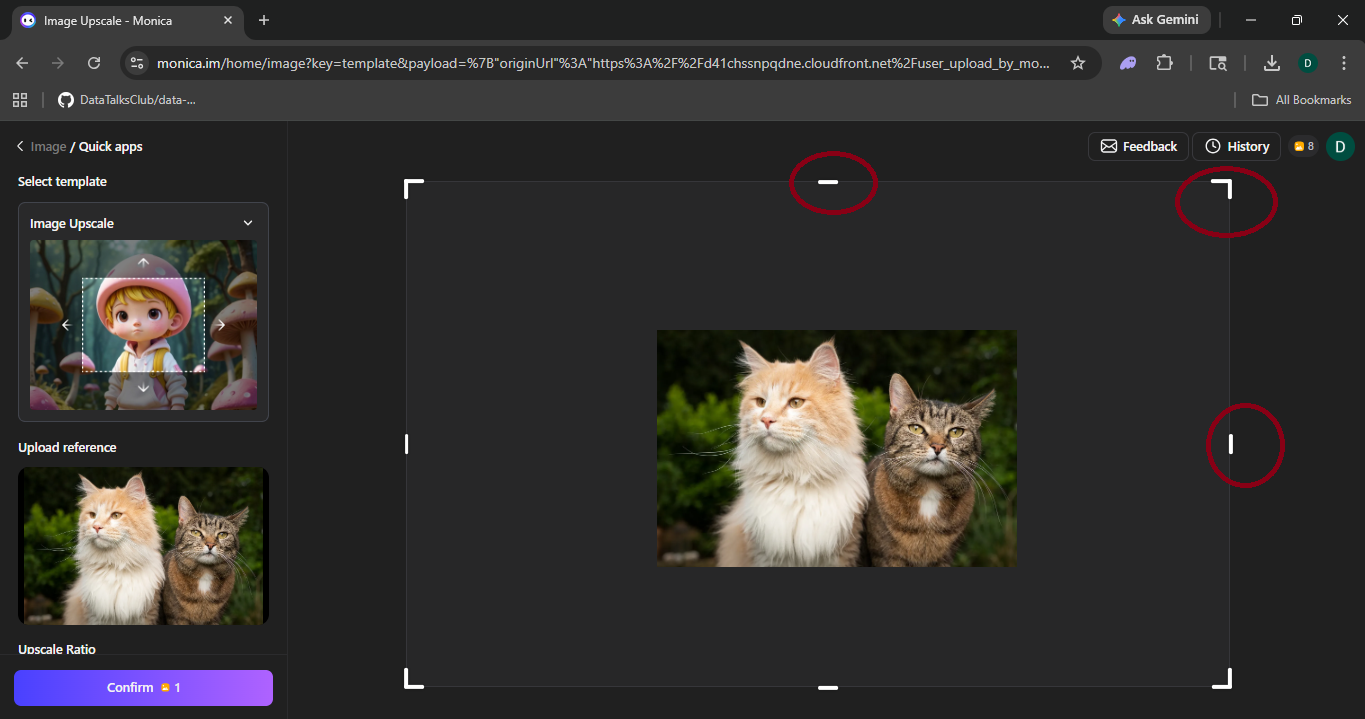
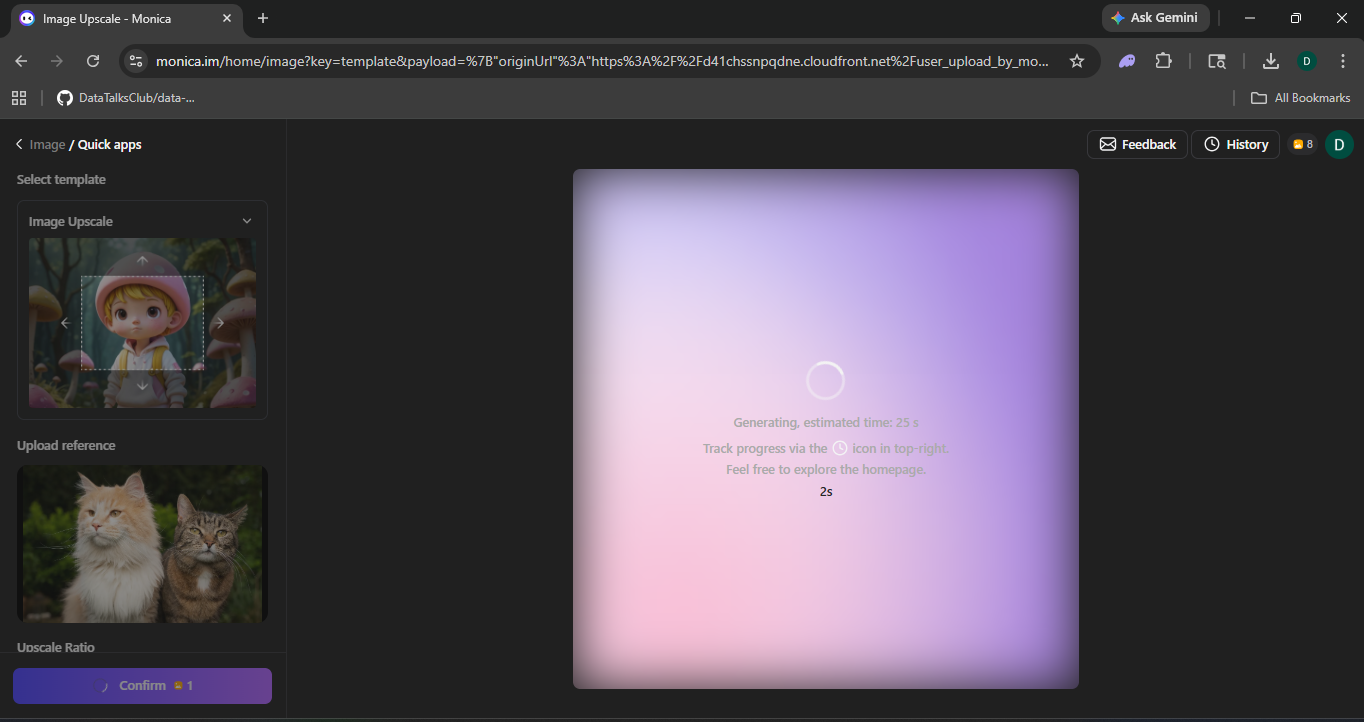
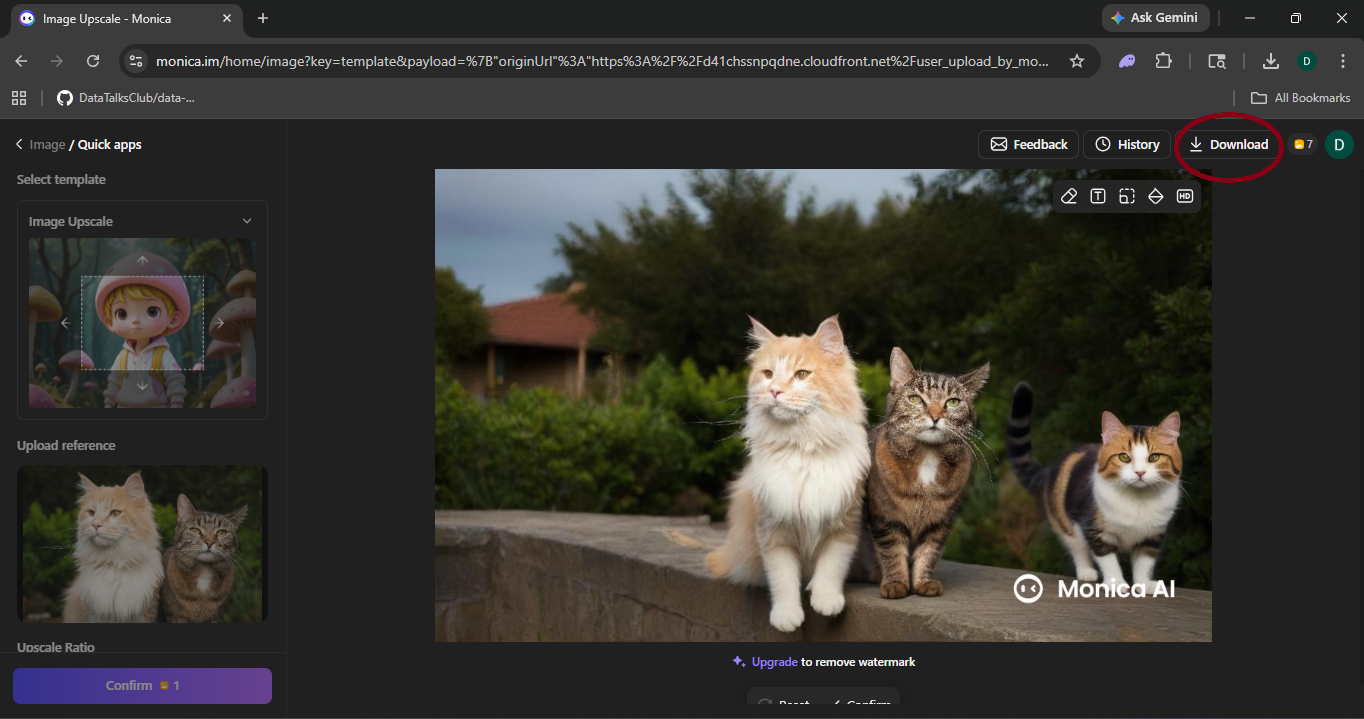
Image Expansion (Outpainting)
Extend your image beyond its original frame using Monica.im, Midjourney or DALL·E 3. Perfect for converting portrait shots to landscape for banners, ads, and thumbnails.
Automate Video Production
with AI
Captions, repurposing long-form to shorts, and AI voiceovers — step by step. Click any screenshot to view fullscreen.
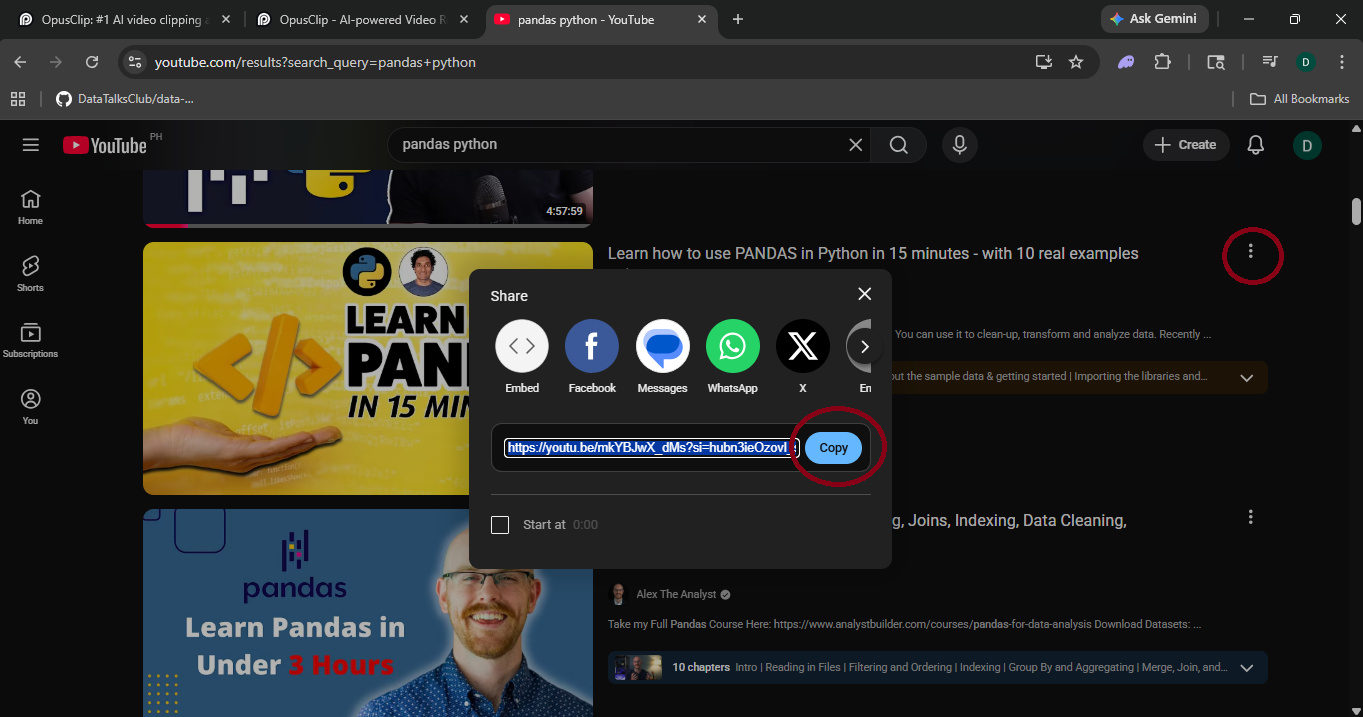
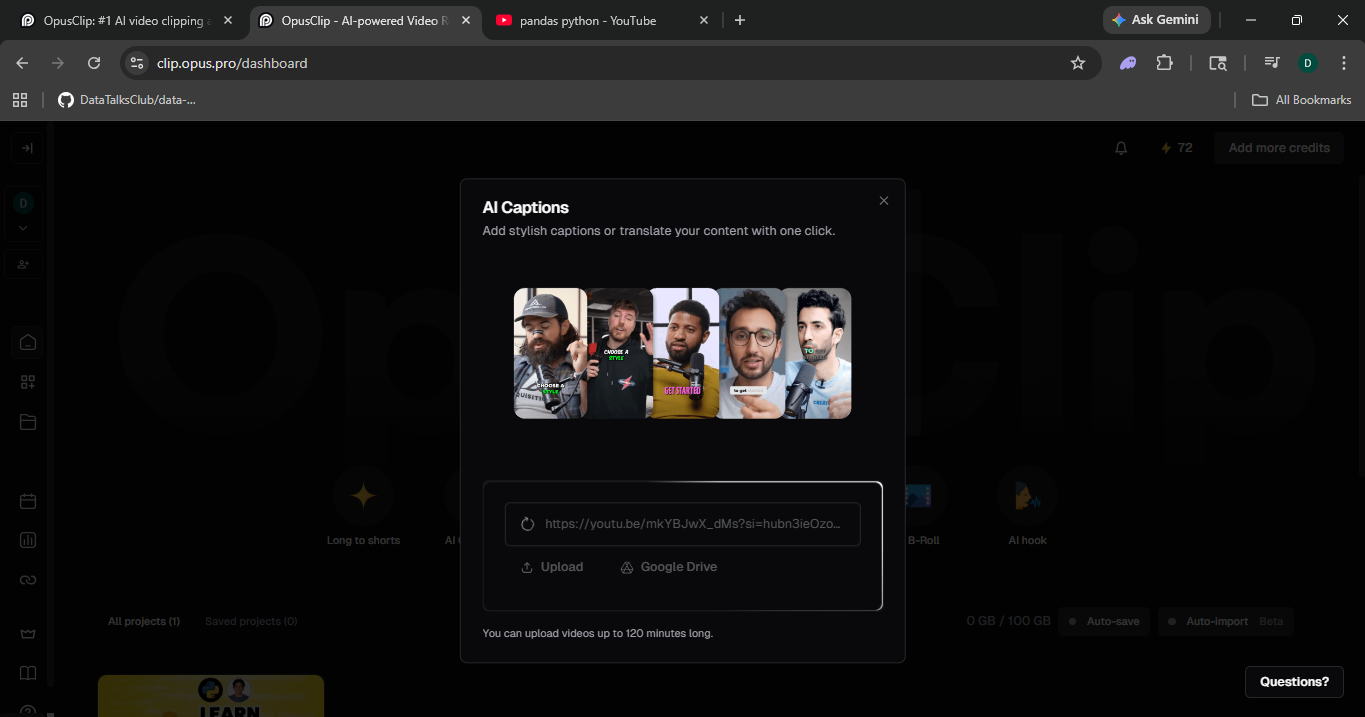
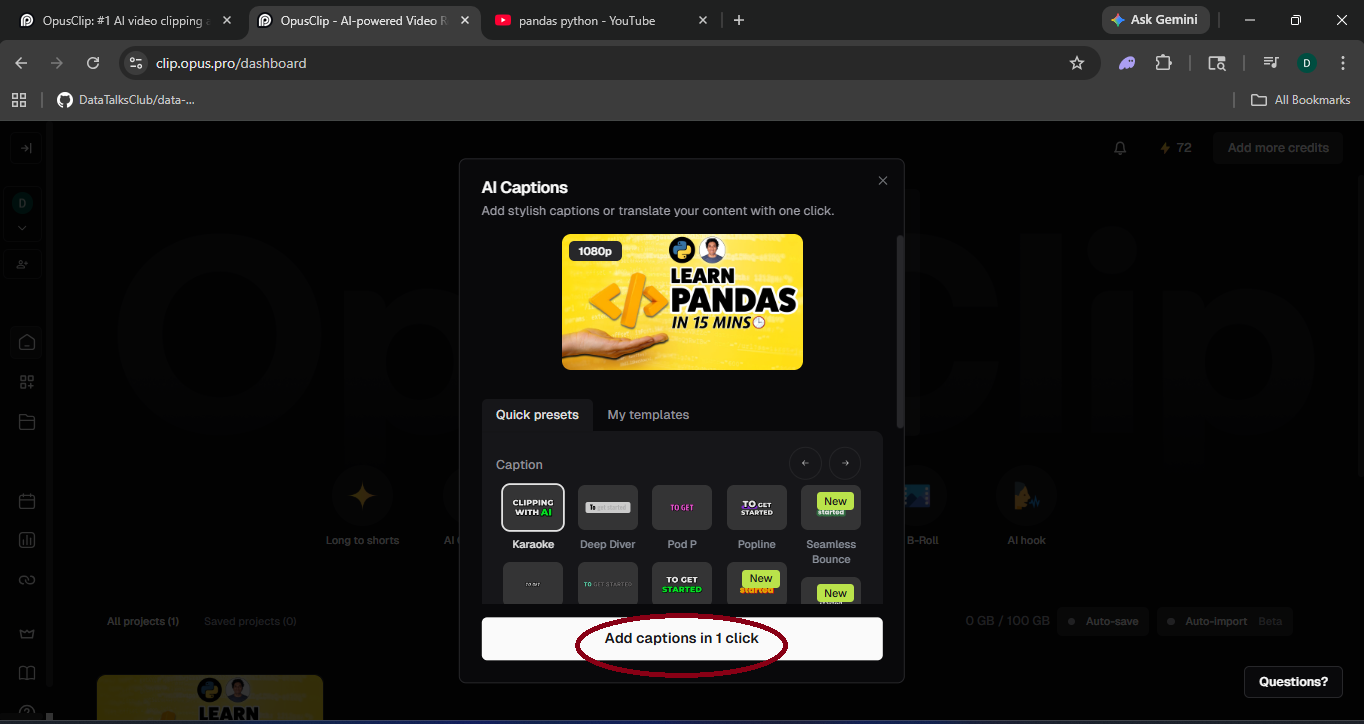
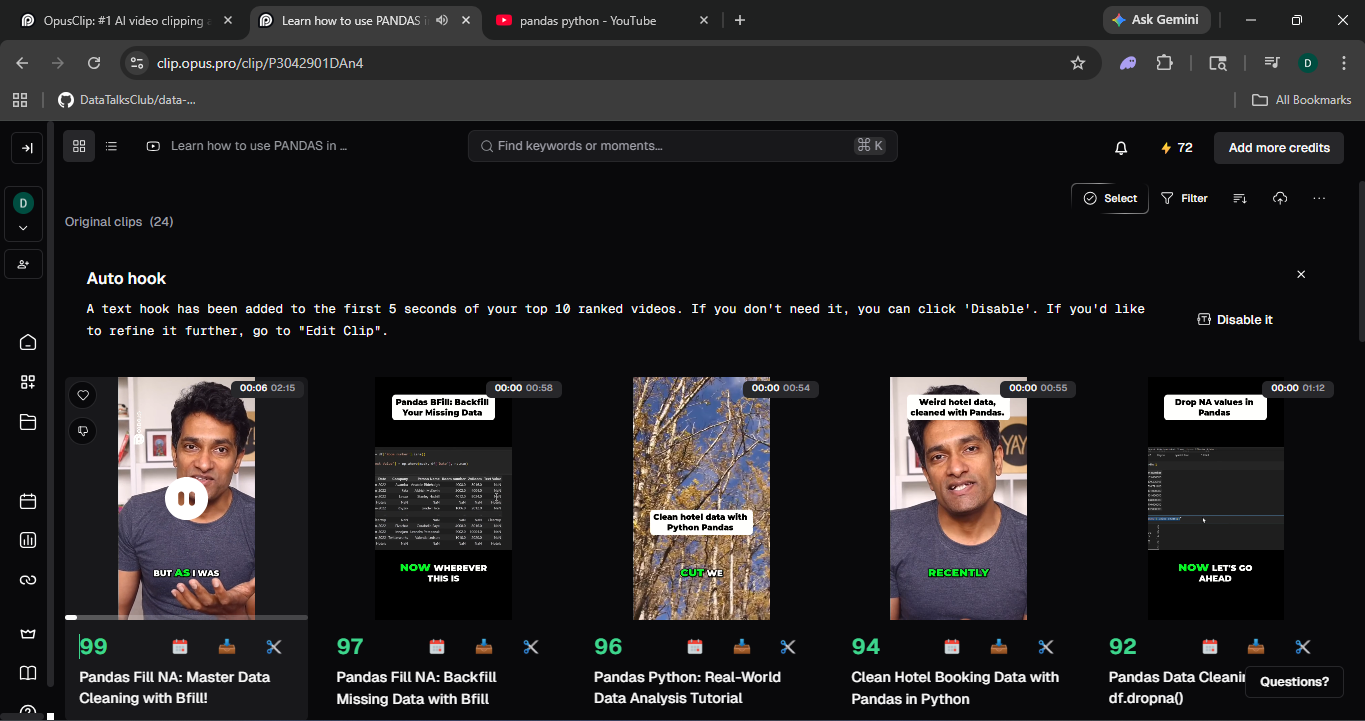
Caption Generation
Upload your video to Opus Clip or Submagic and get 99% accurate, auto-styled subtitles in seconds. Export animated captions for social or a clean SRT for YouTube.
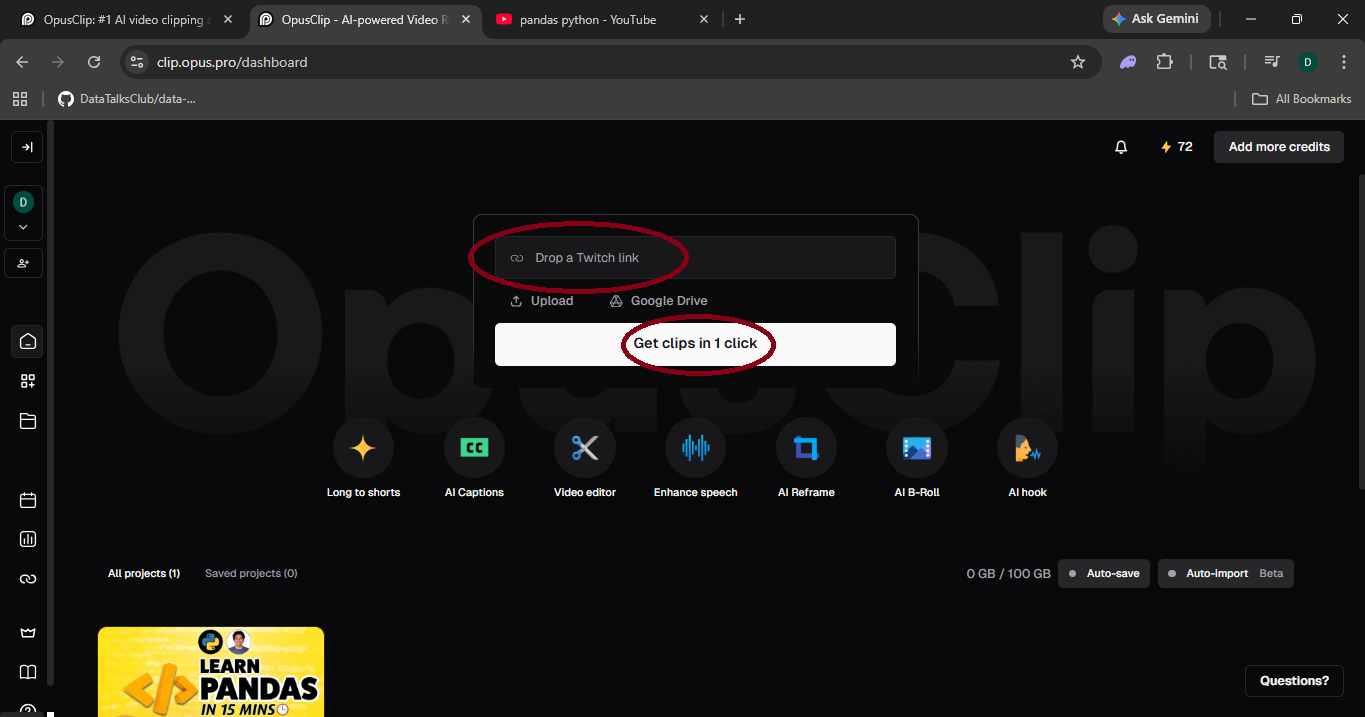
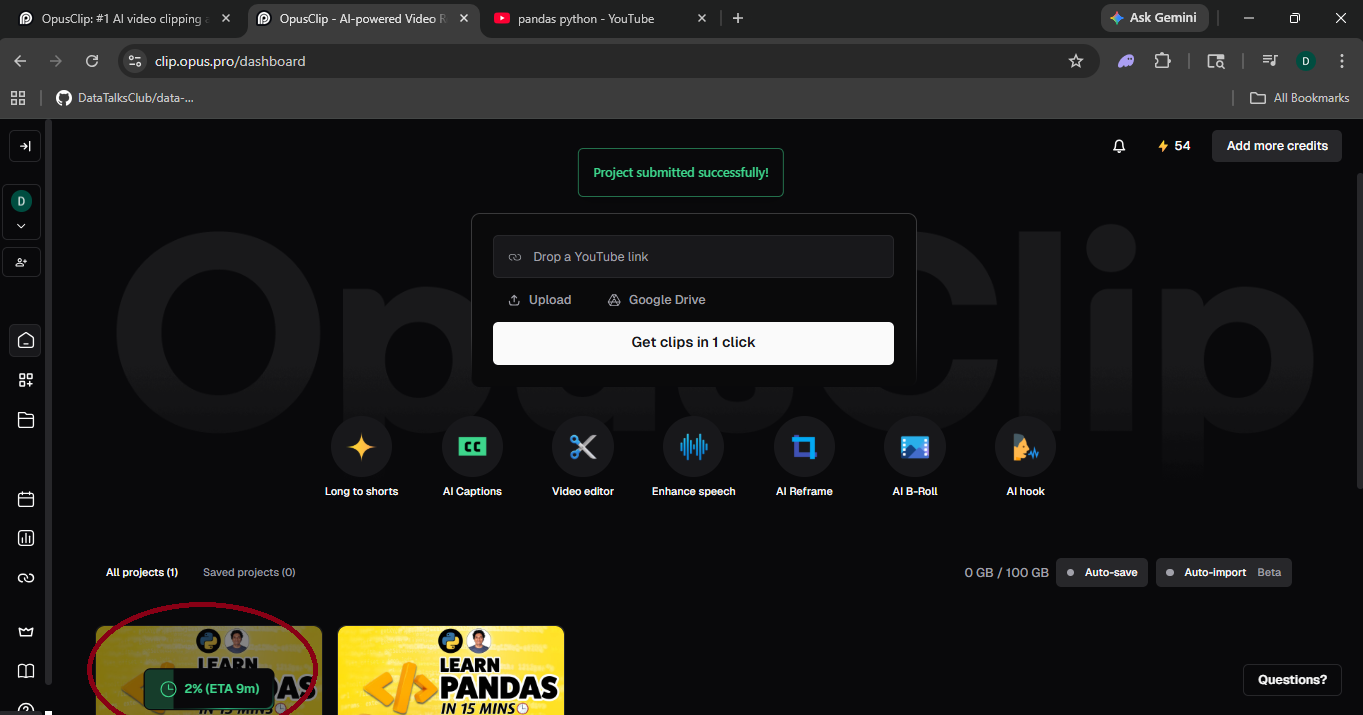
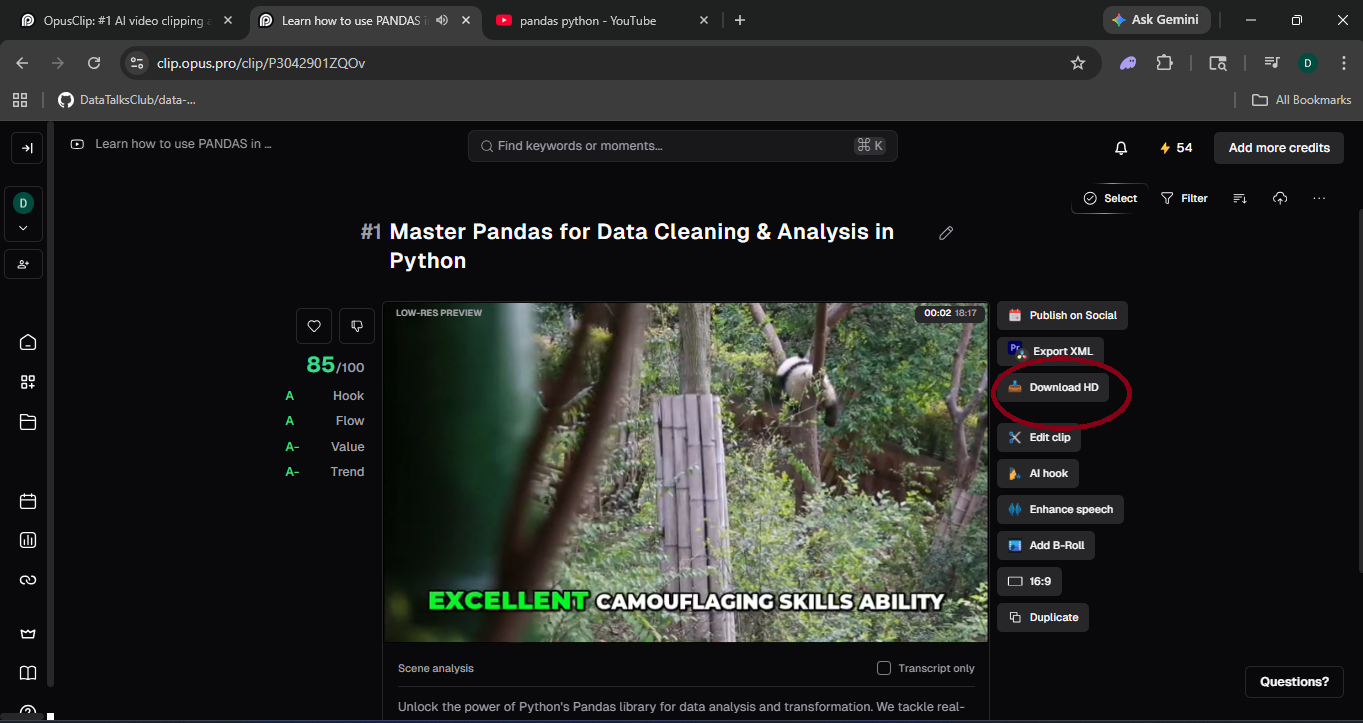
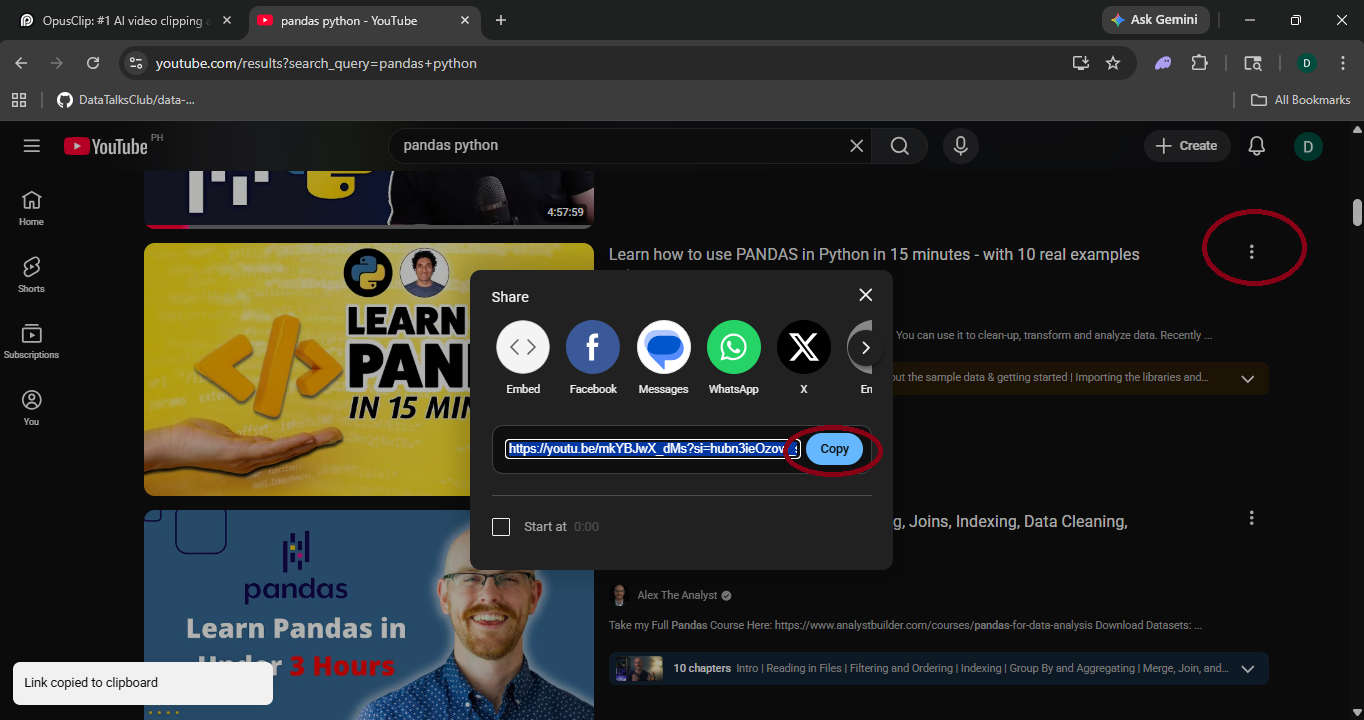
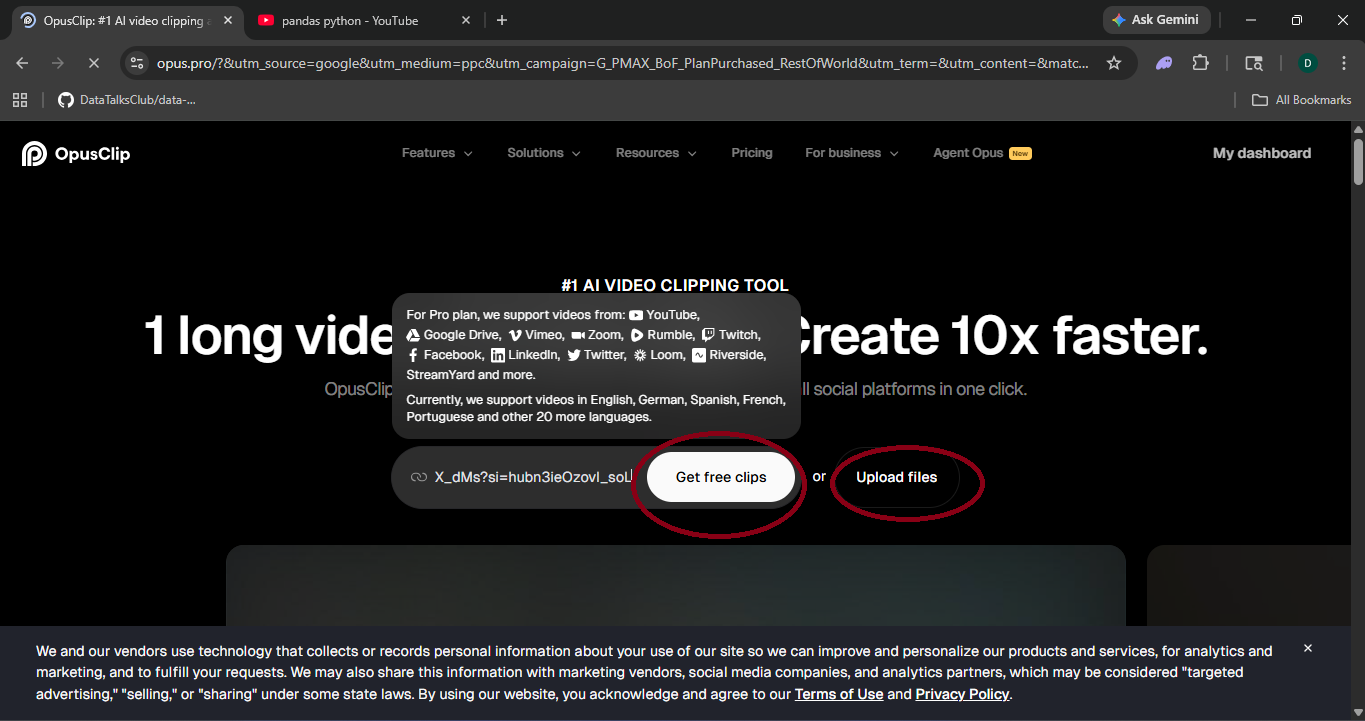
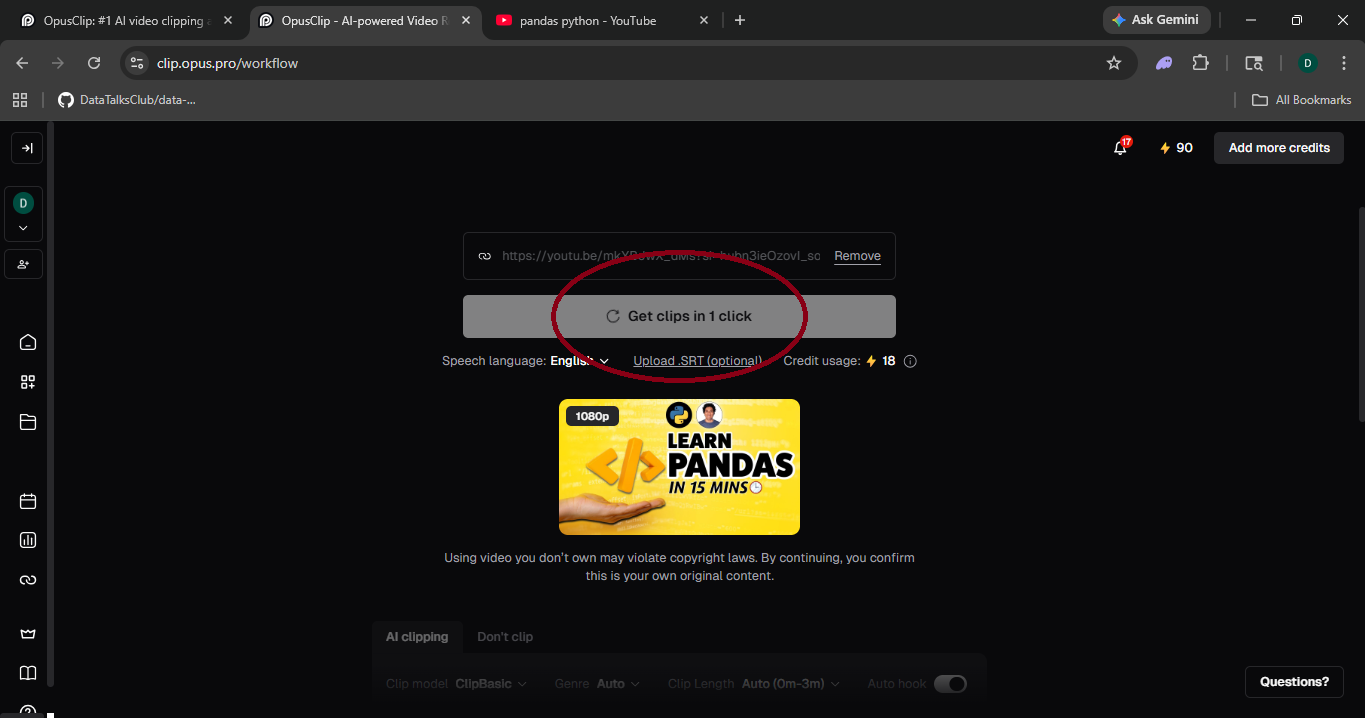
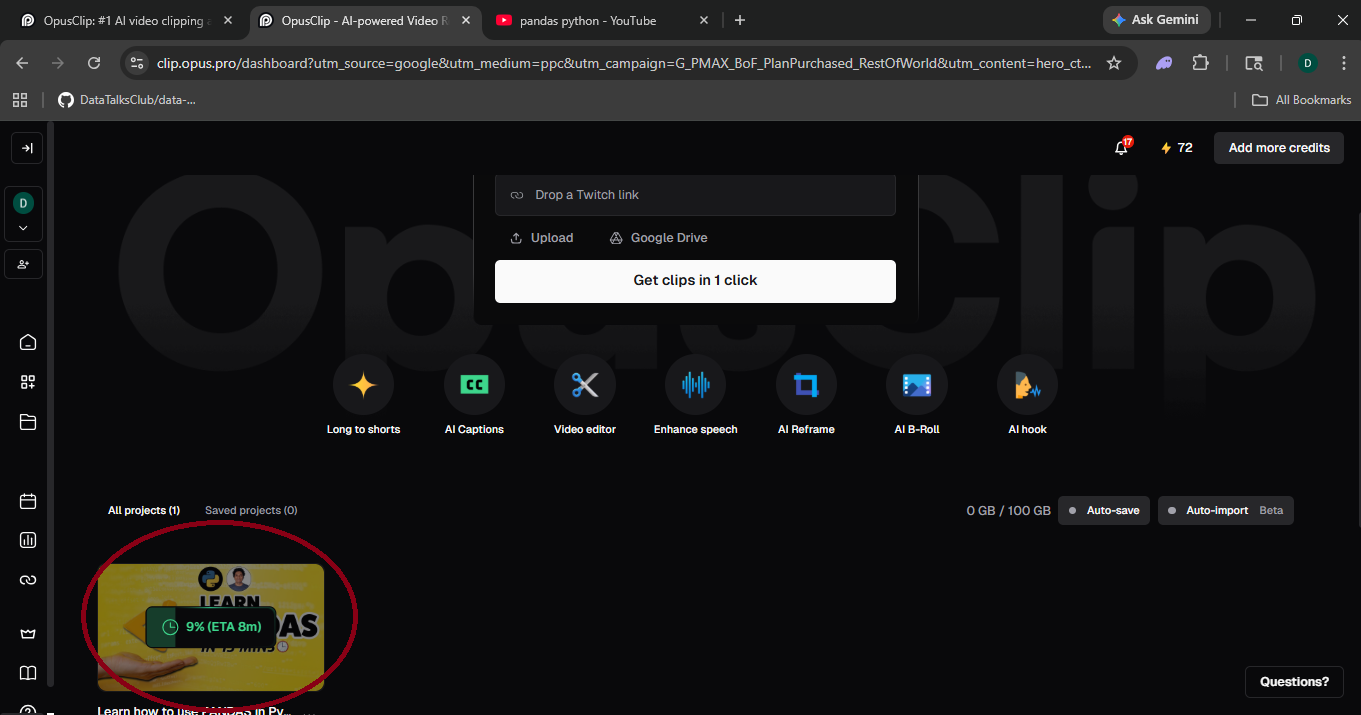
Long-form → TikTok / Reels / Shorts
Opus Clip scans your long video, scores the most engaging moments, auto-clips and reframes to vertical 9:16, and adds captions — turning a 30-min video into 10 ready-to-post clips in minutes.
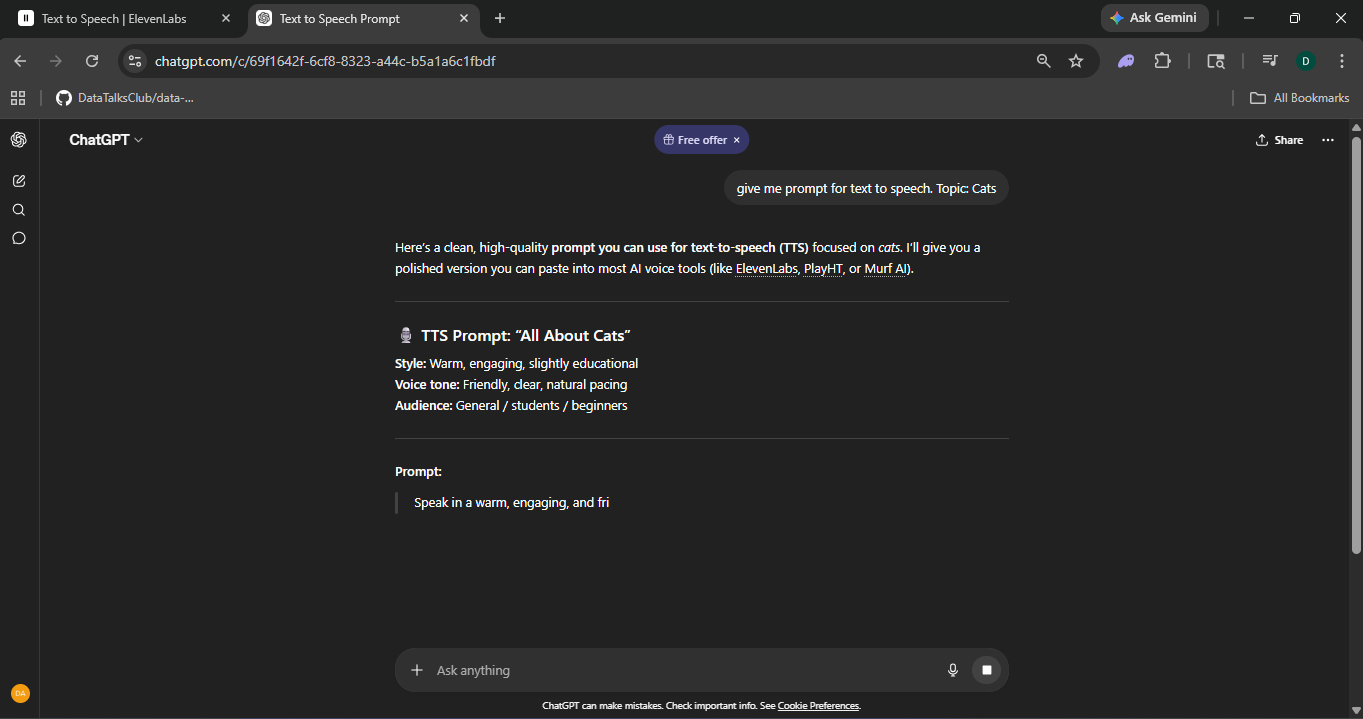
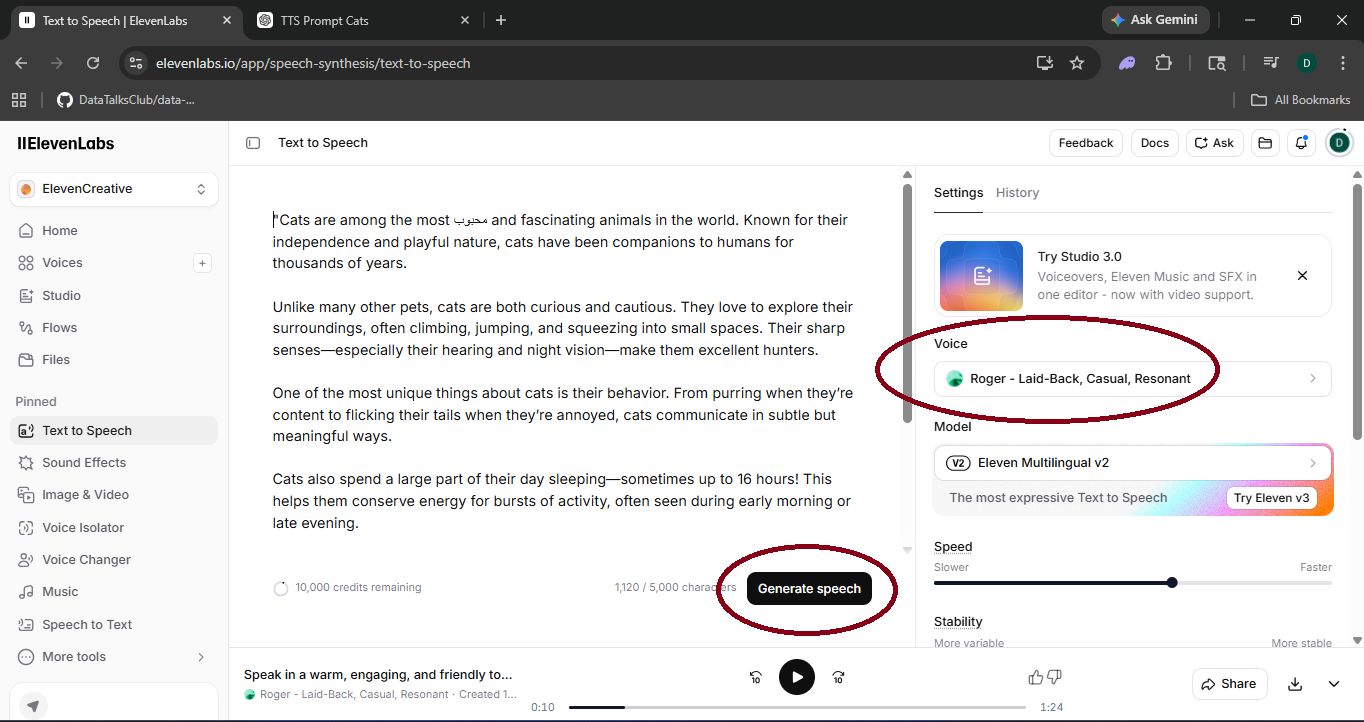
AI Voiceover
Use ElevenLabs or Murf.ai to generate a realistic voiceover from your script. Paste text, pick a voice, adjust pacing — then drop the MP3 directly into your video editor. No recording setup needed.